A high-quality renovation project might drastically enhance your apartment and give you a new perspective on life. If you’ve recently had remodeling work done on your apartment, you’re undoubtedly eager to see the finished version. But what about the countless layers of debris that remain after your renovation is completed?
Before you can kick off your shoes and unwind on your couch, your apartment must be cleaned once the workmen have left. To avoid dust and debris from seeping into the ductwork and clogging the air vents, you should focus on eliminating all of the debris leftovers from construction work. Almost every renovation project generates dirt and debris, which find their way into every niche and cranny of the space you’ve meticulously refurbished. Therefore, letting piles of dirt accumulate on your newly remodeled home will make it appear neglected and unattractive.
Is it challenging to clean up after a construction phase?
Before you begin, think about whether you should do the post-construction cleaning yourself or hire a professional cleaning service in London. Although most components of cleaning after a renovation or construction project are analogous to routine cleaning — dusting, vacuuming, and polishing — the effort is more rigorous, and specialized equipment like wet/dry vacuums, commercial floor polishers, and shop vacs may be required.
Even though you can rent most construction cleaning equipment from your local hardware store, it may be more time and cost-effective to hire a professional cleaning firm in London once you’ve included in the cost and your manpower.
Checklist for Post Construction Cleaning in London:
Here are the cleaning materials you’ll need if you choose to handle your own post-construction cleaning in London:
- Broom with a soft bristle
- Brush with stiff bristles
- Dustpan and hand-held brush
- A bucket and a mop
- Cloths for cleaning
- Clothes made of microfiber
- Dusters
- Sponges of a large size
- Erasers that work like magic
- Sheets of plastic
- Painter’s tape or masking tape
- Knife for applying putty
- All-purpose cleaner or dish soap
- Vinegar (white)
- Peroxide (H2O2)
- Cleaning solution for windows
- Water that is both warm and chilly
- Stepladder
- Squeegee
- Garbage bags
Before you begin cleaning after construction, it’s a good idea to get organized and follow a logical cleaning plan. As a general rule, initiate cleaning from the farthest point from the front door and work your way up and down, inside and out. This way, you’re always pushing dust and dirt outside, rather than causing more mess by moving it around too much.
Getting ready for after construction cleaning of your space in London:
To begin, sweep each room as thoroughly as possible using a soft-bristled broom. Sweep the ceiling and walls as well, brushing toward the center of the room to remove any dirt debris. Wear a good quality dust mask while working if the dust is particularly bad. Sweeping is made easier by lightly sprinkling the dust with water.
Post Construction Cleaning in London includes:
1. Carpet & Furniture Vacuuming
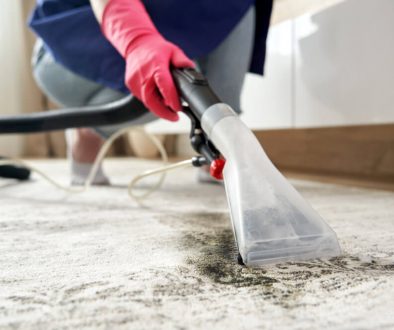
Dust and grime particles are all too easy to embed in draperies, upholstered furniture, and carpeted flooring. If left to settle after completion, the effect might be dirty and produce unpleasant, bothersome reactions in friends, family, and visitors. Clean all soft surfaces thoroughly, giving special attention to the smallest of details. Each furniture cushion, as well as the underlying frames, should be removed and vacuumed. If there is still dust after the initial vacuuming, try vacuuming again.
2. Replace filters and clean air vents.
Dust and debris will mix with the atmosphere and find their way to your vents during a significant home renovation job. Even if you only renovate one room, fixing the air vents and filters in that room is crucial to limiting the amount of dust that can spread throughout the rest of your house. Start by removing the vent covers from the walls and ceilings surrounding them, clean them with warm soapy water, and let them dry completely. Prior to replacing the vent covers, substitute any exposed air filters with new ones. The dusty atmosphere can cause allergies and respiratory ailments, so don’t forget to do this!
3. Using a damp cloth, wipe down any hard surfaces.
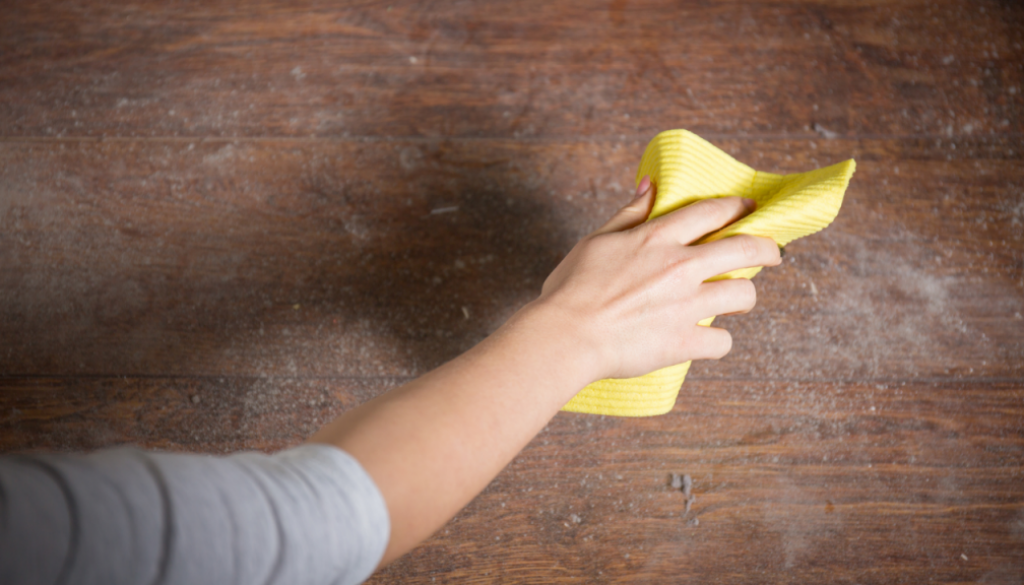
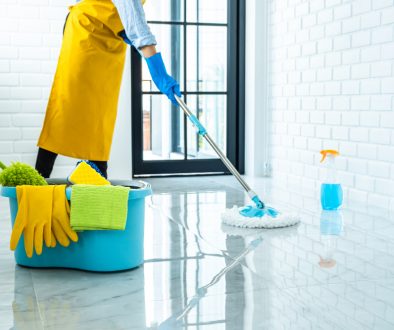
Surfaces should be cleaned from the top down. Begin by dusting your walls – yes, even walls acquire dust during renovation. Dry dusting is the safest approach to eliminate particles without damaging a wall’s surface, although depending on the type of paint or wall coating, a damp cloth can also be employed. Before using any dampness, check with the paint or wallpaper supplier and test a tiny area first. Moldings and cabinets are also popular places for dust particles to accumulate. Next, dust these areas using a duster. Clean the internal shelves of all cabinets, paying special attention to the places that are difficult to access. Before tackling the dirt and debris on or near the floor, wipe down the countertops and any other flat surfaces. Finally, sweep any apparent dust off your hard floors and mop them from wall to wall.
4. Finishing Touches for a Dust-Free Home, post-renovation.
For a dust-free home, remember to clean all fixtures, accessories, and small items in the construction area. Here’s a quick list of items we totally ignore when cleaning up after construction or renovation work:
- The ceiling fan’s blades
- Fancy lighting
- Lampshades and chandeliers
- Electronic gadgets (routers, television, laptops) – understand how to safely clean electronics here.
- Machinery (coils of the fridge, extractor hood filters, air conditioner filters)
- Items for decor (picture frames, vases, magazine holders)
- Accessories for the interior (hatstands, mirrors, curtain rails, coat hooks)
No one can really judge you if you don’t have the strength to clean up after a renovation! Everyone needs to take a break, and our team can support you in gaining yours! Simply schedule professional post-construction cleaning & experience satisfactory cleaning services at a time and date that fits you!
